Intro
This guide shows you how to use the data in the CIM to narrow your view and focus on the opportunities that matter.
Rather than scanning everything manually, you can use some of the features of the CIM to reduce noise, compare results more quickly, and prioritise where to spend your time.
In the Opportunity Radar, each opportunity represents a public sector authority or organisation that is interesting for you to approach. Each opportunity shows with the name of the public organisation (most often the name of a city), the score indicating the relevance for your active Product Profile, and a preview of the relevant Signals or Contacts found for that public organisation.
Quick glossary
Why this matters
Strong CIM users proactively use their Product Profiles in combination with filters to identify which cities, projects, or developments deserve attention, then take action on the opportunities that look most relevant. Looking into detail into specific Signals can provide you with deeper insights.
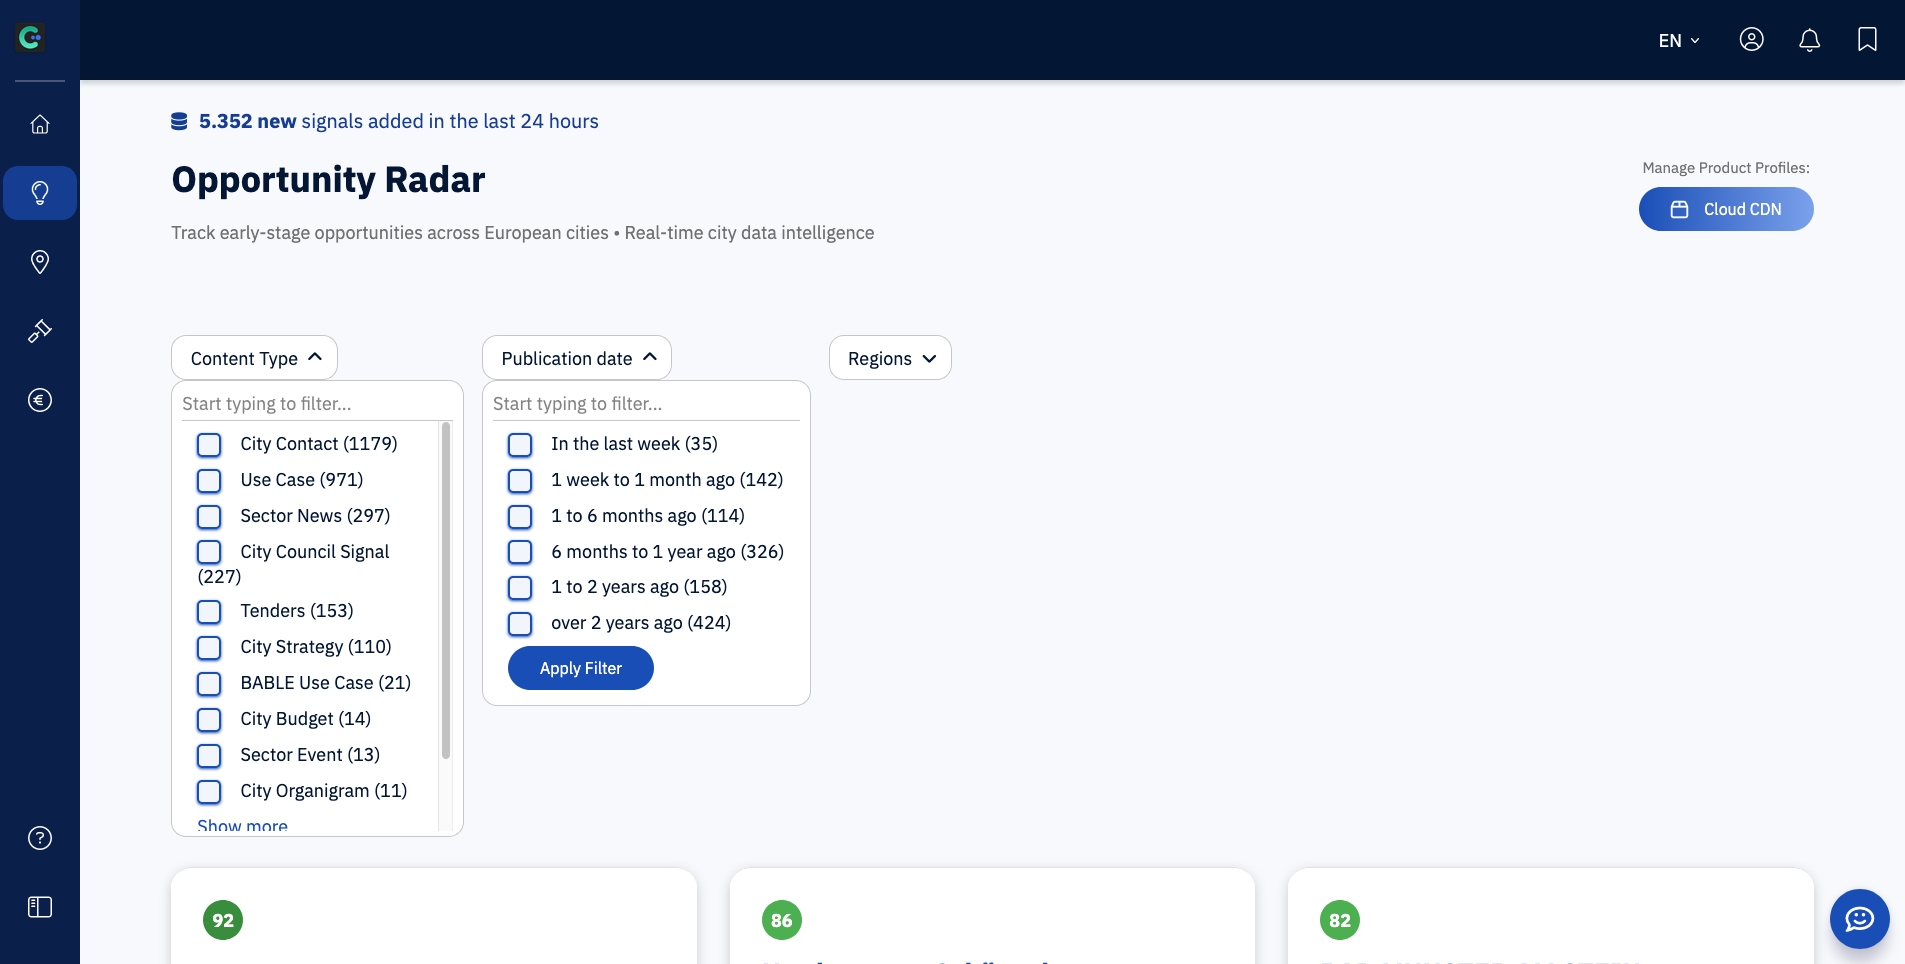
Step by step
Open the Opportunity Radar to see your overview of opportunities.
Make sure your preferred product profile is active.
Apply any filters in the top of the overview that you consider relevant, such as [Signal Type], [Publication Date], or [Region].
Signal Type: only show opportunities based on specific types of city data.
Publication Date: to only see Signals published in a certain time period.
Region: show opportunities for certain countries or regions.
Review how the resulting opportunities change. Click on “Explore Opportunity” to see an overview of Signals found and an analysis of why they are potentially relevant to you.
Scan each opportunity for Signals that suggest a meaningful insight. Click on the name of a Signal to explore it in more detail and to open the original source.
Bookmark, share, or act on the Signals that look worth pursuing.
Example:
I have a company that sells E-bike Docks to city governments. I am wondering if I should expand into Germany, and want to figure out if there are any particular cities I should start approaching.
I first create a solid Product Profile with the details of my offer.
I select the filters Region > Germany, and Publication Date > up to 1 year ago.
Now I can directly see which German cities had any activity related to my offer recently, and can even get the emails of several council members I can start approaching as leads.
Best way to do this
Start broad, then narrow gradually. If you filter too early or too aggressively, you may miss useful Signals. It’s usually better to begin with a slightly wider view, understand the landscape, and then refine based on what you’re seeing. Use Signals as prompts for investigation.
Common mistakes
Applying too many filters too soon
Treating every Signal as equally important
Looking at filtered results without checking which profile is active
What to do next
To understand a particular city in more depth, open the City view and explore more general local context behind the data.