Intro
This guide shows you how to access the CIM and complete the initial setup.
A good setup gives you a solid starting point and makes it easier to move quickly into opportunity discovery, rather than spending time working out where to begin.
Why this matters
The CIM is most useful when you can move from setup to action quickly. Completing the initial setup helps you start with the right structure and a clearer path into relevant opportunities.
Step by step
Go to the CIM login page.
Use the login details you created or have been assigned by the BABLE team to sign in to the CIM.
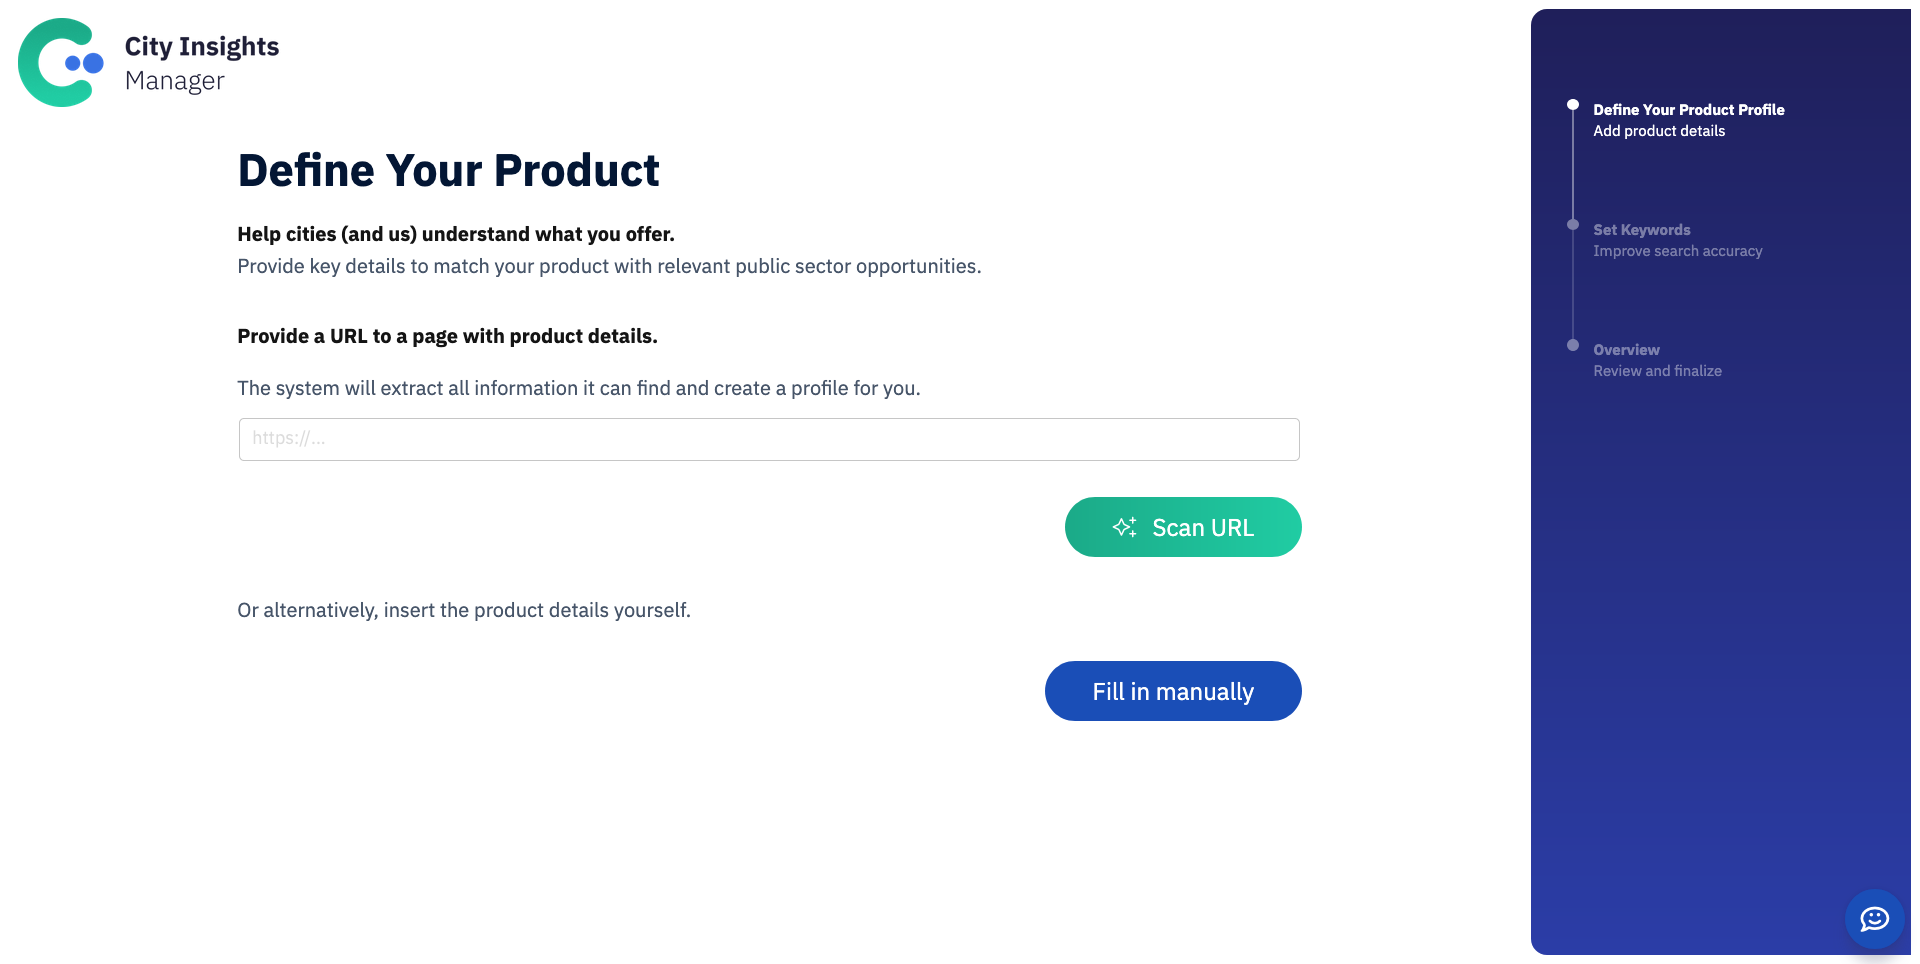
Complete the onboarding flow if you haven’t already done so during your trial.
You have been set-up automatically with a very basic initial Product Profile to start with. You can edit or add new Product Profiles after the setup.
Confirm that your account lands on the Opportunity Radar.
Check out the first opportunities that show up.
You are now ready to create new product profiles, browse through relevant opportunities and use the City view.
Best way to do this
Make sure the initial details are accurate (your correct work email), and remember your account details to be able to login in the future.
Common mistakes
Do not skip or leave this initial setup
Using incorrect work email
This is only the base set-up. First results might not be the optimal fit if you haven’t yet created any new Product Profiles.
What to do next
Next, add a new Product Profile so you can monitor in more detail any of your offers, focus areas, or market angles.